Supported Devices
| Device Type | Variants | Modbus TCP (Ethernet) | Curtailment | Minimum device firmware version |
|---|---|---|---|---|
| Sunny Boy Smart Energy | Sunny Boy Smart Energy 3.6 (SBSE3.6-50) | ✅ | ✅ | 03.12.17.R |
| Sunny Boy Smart Energy 4.0 (SBSE4.0-50) | ||||
| Sunny Boy Smart Energy 5.0 (SBSE5.0-50) | ||||
| Sunny Boy Smart Energy 6.0 (SBSE6.0-50) | ||||
| Sunny Boy Smart Energy 3.8 US (SBSE3.8-US-50) | ||||
| Sunny Boy Smart Energy 4.8 US (SBSE4.8-US-50) | ||||
| Sunny Boy Smart Energy 5.8 US (SBSE5.8-US-50) | ||||
| Sunny Boy Smart Energy 7.7 US (SBSE7.7-US-50) |
Wiring
For correct ethernet wiring: Follow the the guidelines for ethernet wiring.
Configuration
- Connect with your computer on the same LAN network as the SMA Sunny Boy Smart Energy.
- In your web browser, surf to the IP address of the device.
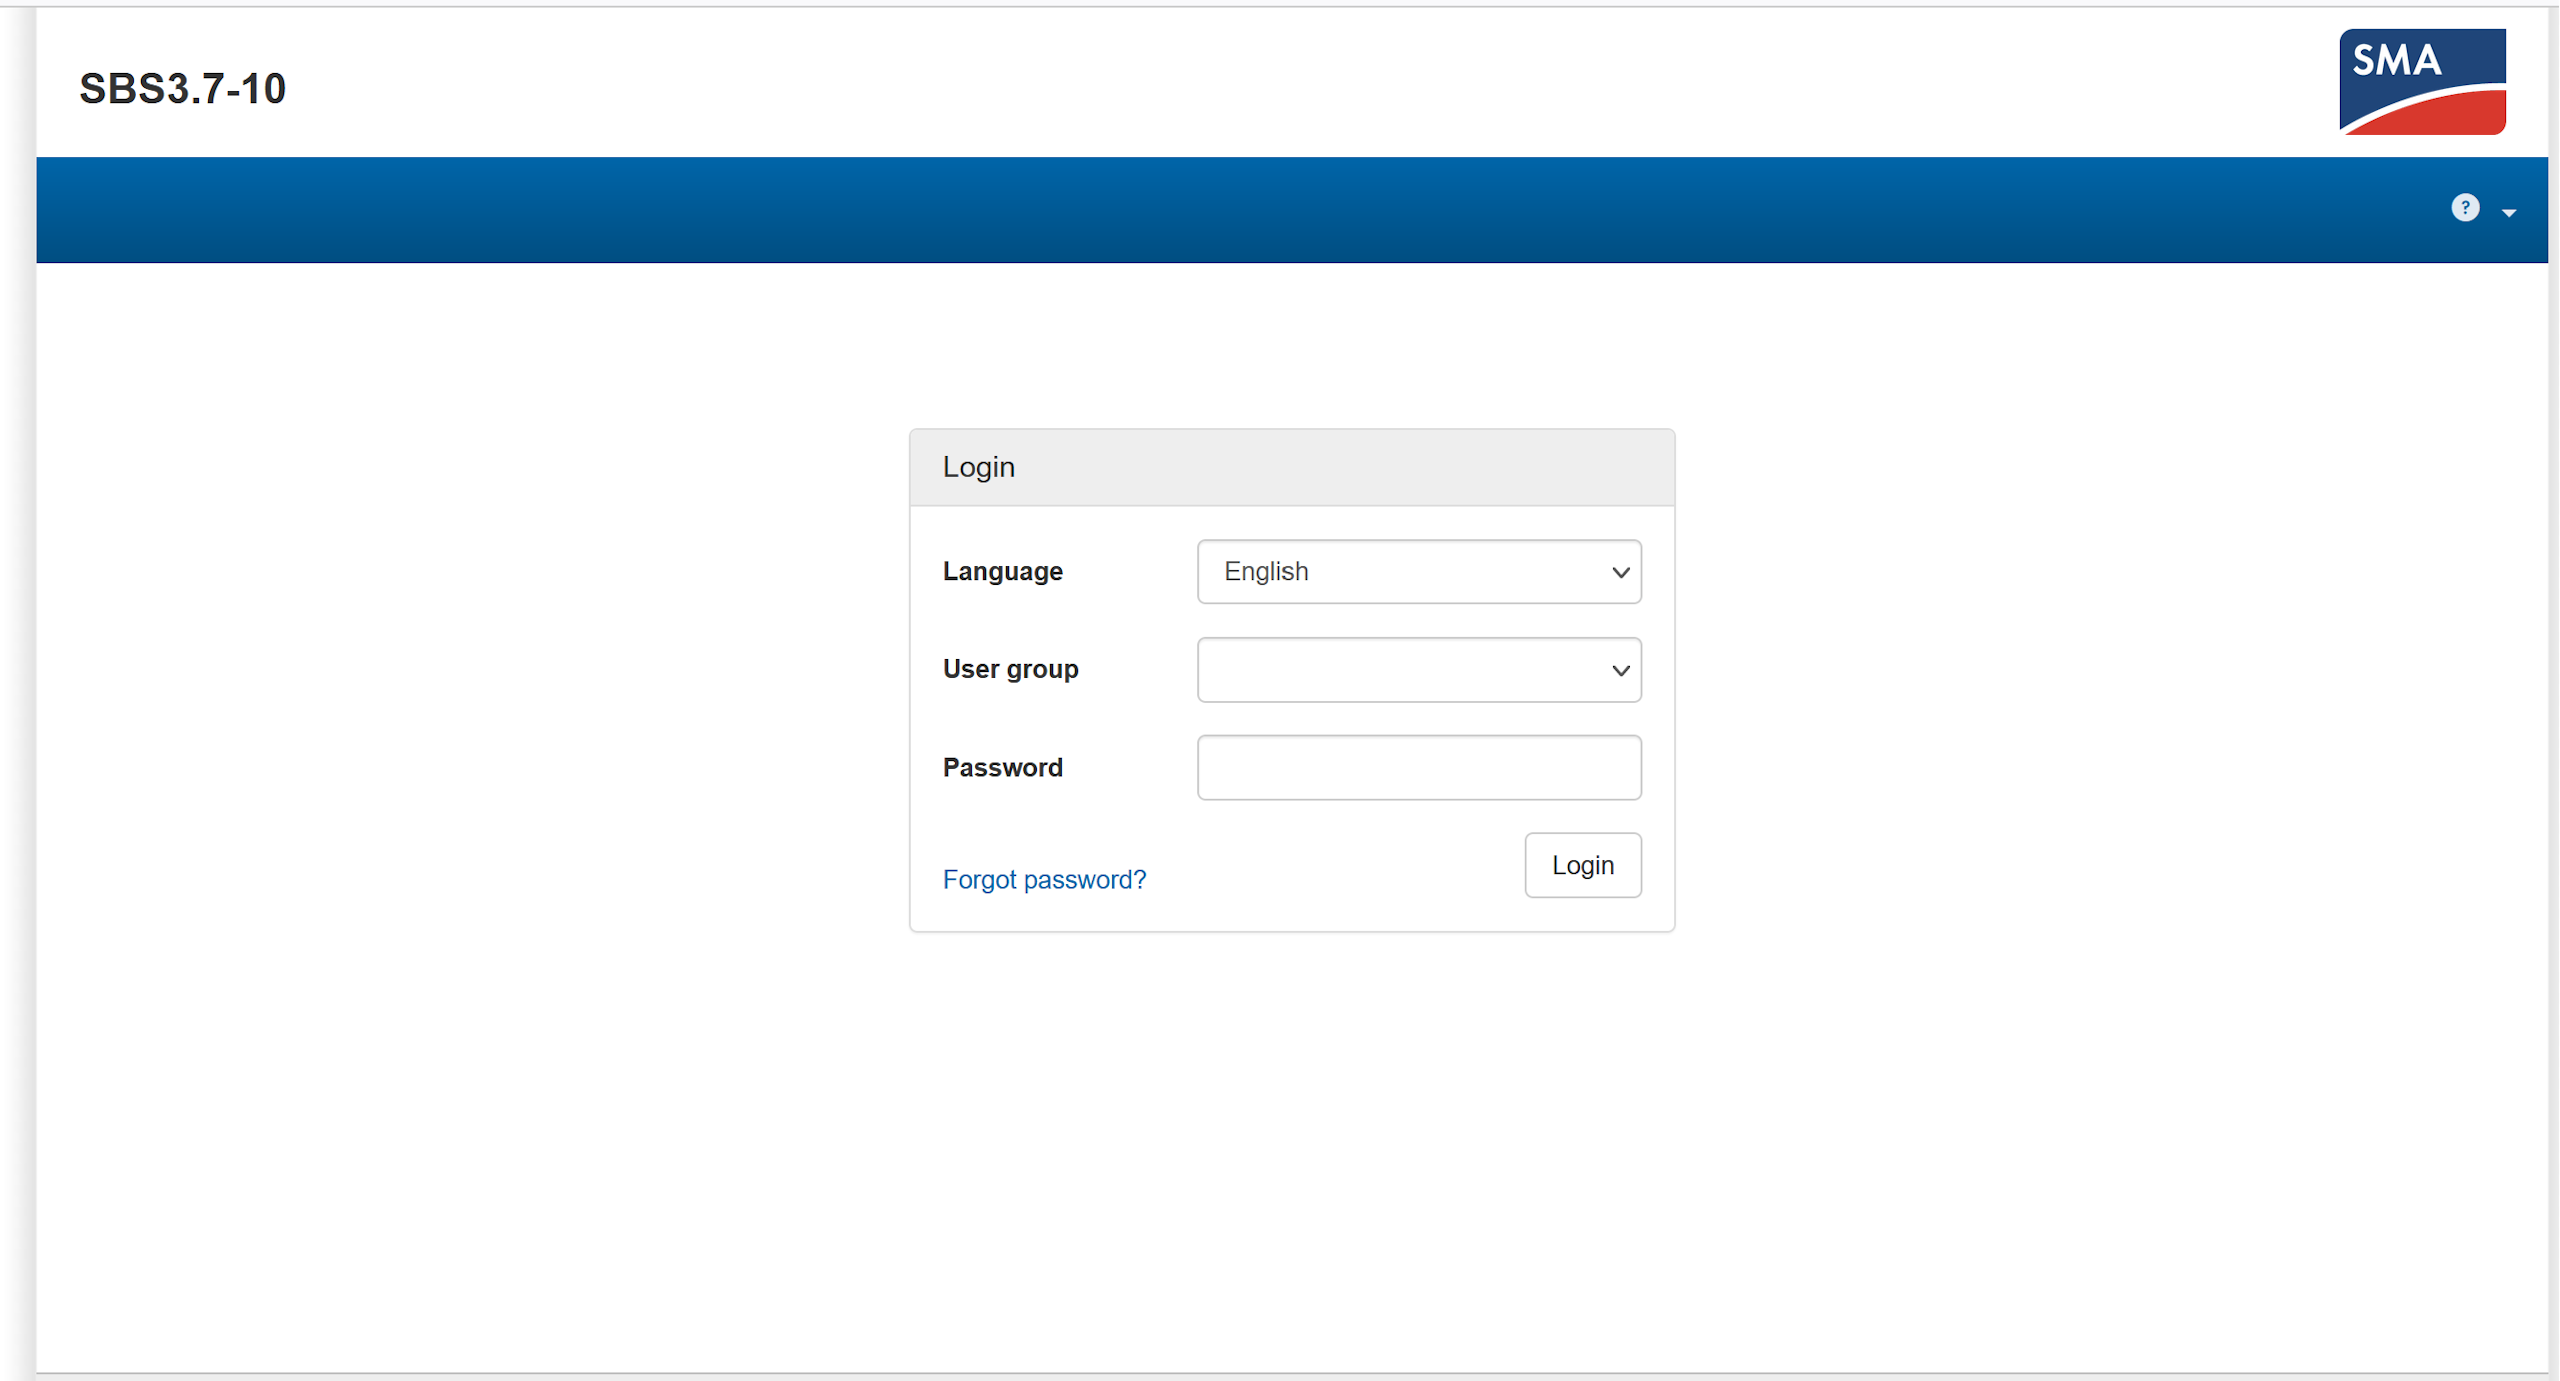
- Log in as "Installer."
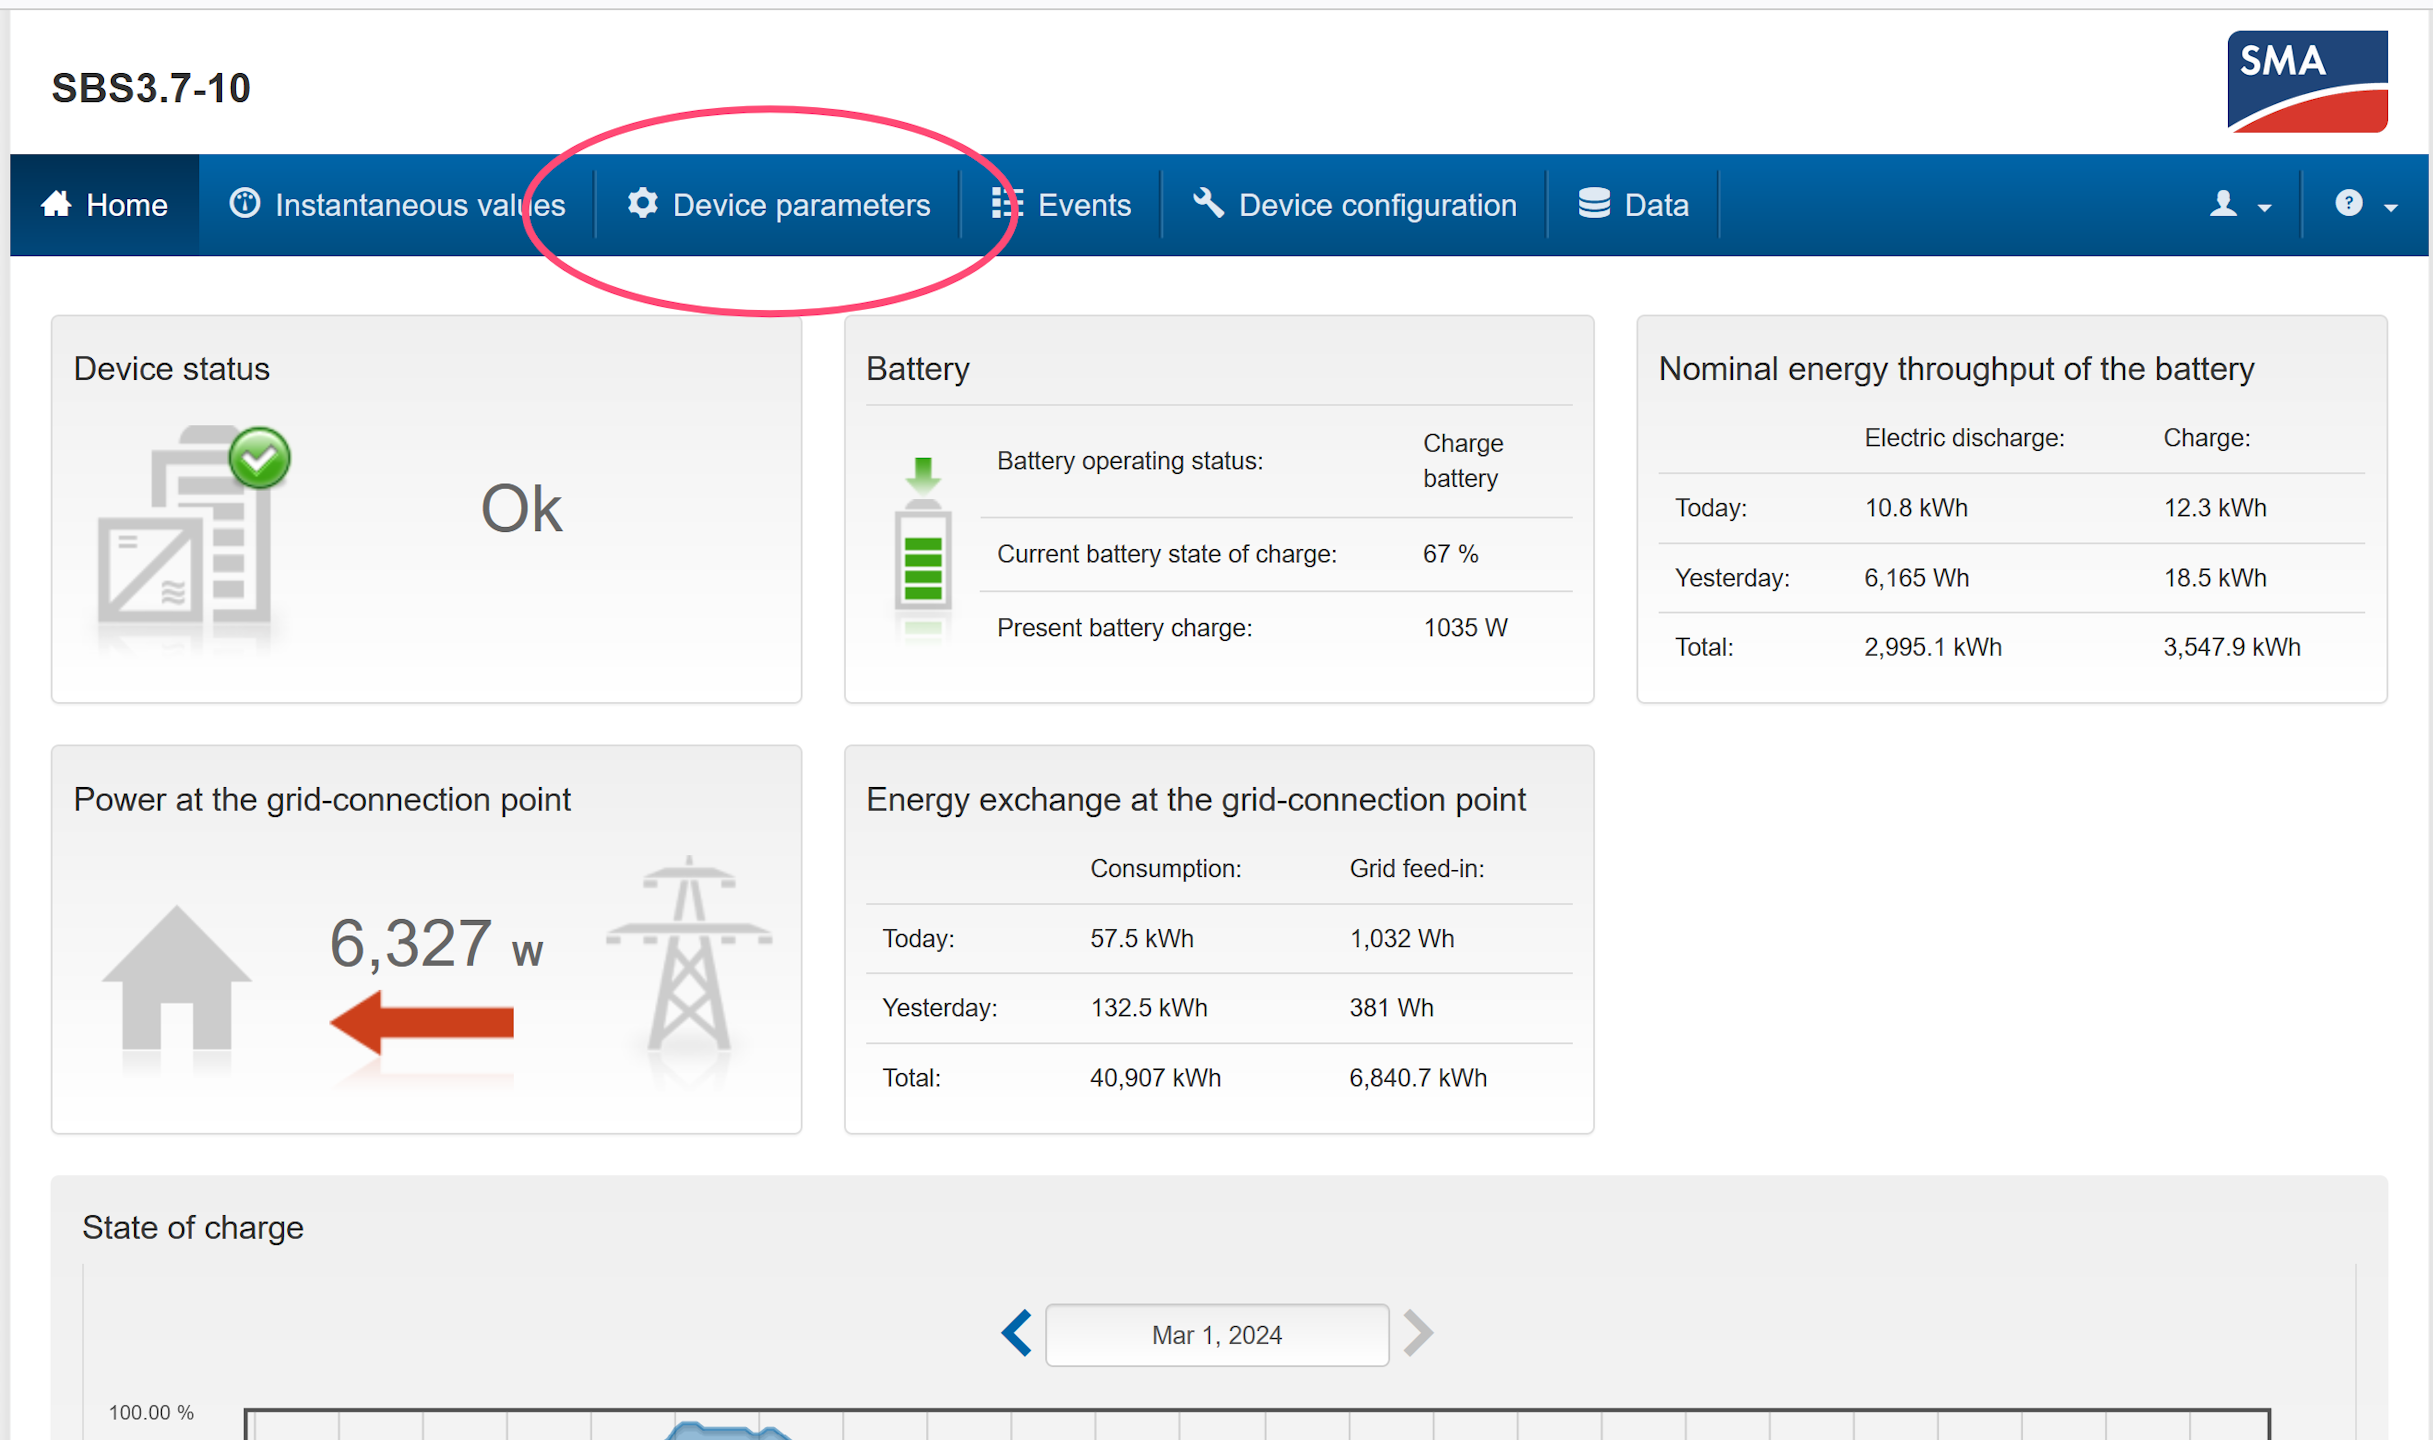
- Go to the device parameters tab.
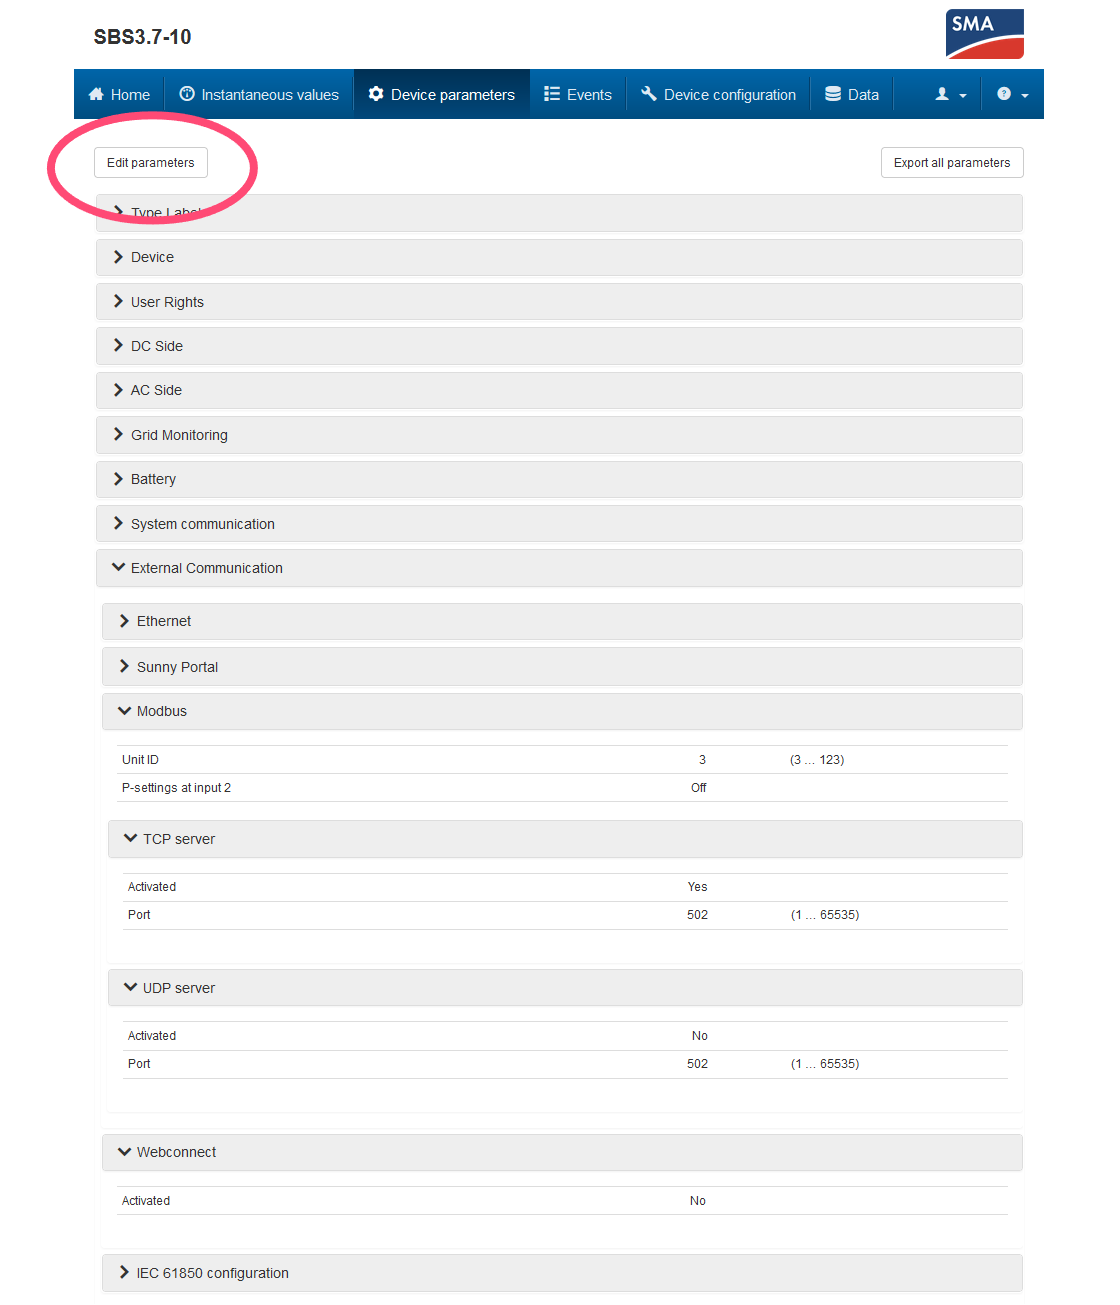
- Click "Edit parameters."
- Open the "External Communication" dropdown menu → "Modbus" → "TCP server."
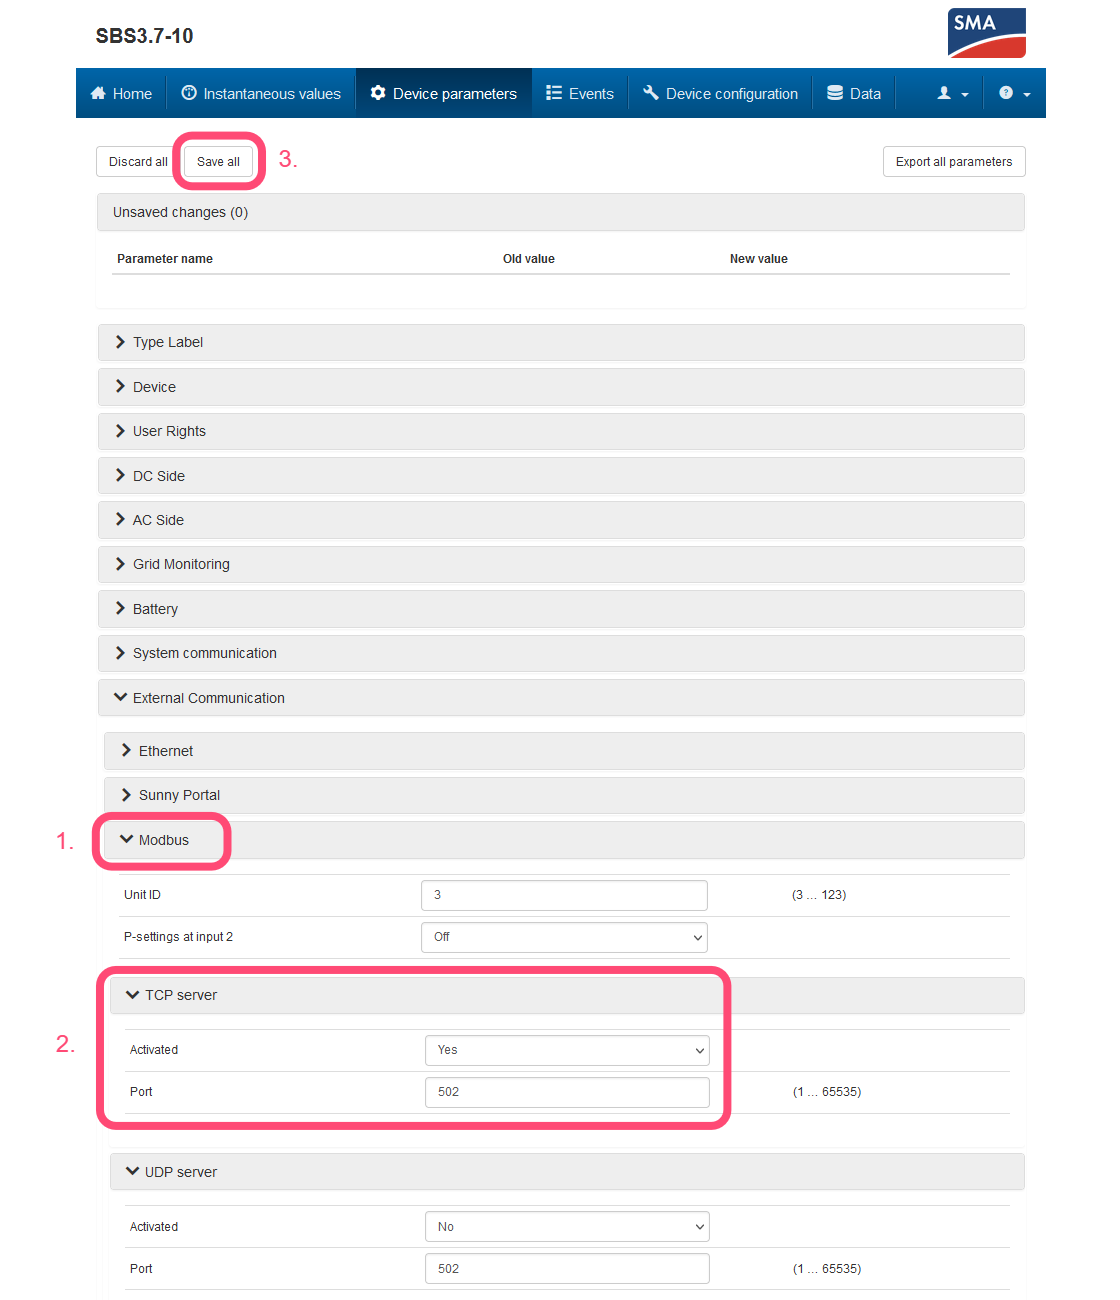
- Set "Activated" to "Yes" and "Port" to "502".
- At the top of the page, click "Save all."
Connection to the Controller
You then need to connect the device to the controller, for that follow this guide : Adding a device.
Last updated December 11, 2025Edit this page