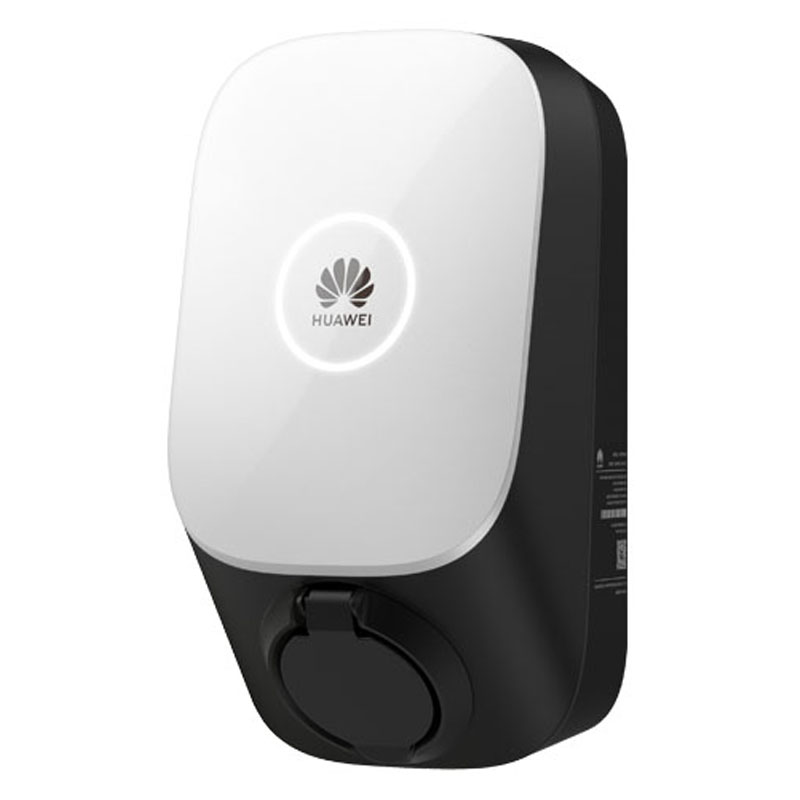
Supported Devices
| Device Type | Manual | Modbus TCP (Ethernet) | RS485 | Curtailment |
|---|---|---|---|---|
| SCharger-7KS-S0 | Manual | ✅ | ❌ | ✅ |
| SCharger-22KT-S0 |

Wiring
The SmartgridOne Controller communicates with the Huawei SCharger via Modbus TCP (Ethernet/Wi-Fi).
Power Wiring
- SCharger-7KS-S0 (1-Phase): L1, N, PE.
- SCharger-22KT-S0 (3-Phase): L1, L2, L3, N, PE.
Network Connection (FE/Ethernet)
For the most stable connection with the Controller, it is recommended to use a hardwired Ethernet (FE) connection.
- Open the charger cover.
- Route the network cable through the left cable hole at the bottom of the rear cover.
- Connect the network cable to the FE port on the rear side of the internal unit.
- Connect the other end to the same router/network switch as the Controller.
While the charger supports Wi-Fi, a wired Ethernet connection is strongly recommended for reliable control by the Smart Grid Controller.
Configuration
To enable control by the Controller, you must perform a one-time configuration on the charger itself to enable the Modbus protocol.
1. Initial Setup (via Huawei App)
Use the FusionSolar App (Installer account) solely to configure the network and Modbus settings.
- Log in to the FusionSolar app as an Installer.
- Tap Setup Wizard > Scan the QR code on the side of the charger.
- Connect to the charger's internal WLAN hotspot (Password is on the label).
2. Enable Third-Party Control (Modbus TCP)
By default, the charger does not accept commands from external controllers. You must enable this:
- In the FusionSolar app (connected to the device hotspot), go to Settings.
- Navigate to Communication configuration > Dongle parameter settings.
- Find Modbus TCP.
- Set to Enable (unrestricted) or Enable.
- Ensure the port is set to 502.
If Modbus TCP is not enabled here, the Controller cannot detect or control the charger.
3. Static IP Address
To ensure the Controller never loses connection, assign a static IP:
- Go to Quick Settings > Communication networking.
- Select FE (Fast Ethernet) if wired, or WLAN if wireless.
- Disable DHCP.
- Enter a static IP Address, Subnet Mask, and Gateway that matches the customer's network.
4. Eniris Controller Configuration
Now that the charger is configured, you can add it to the Controller.
Enter the following settings in the Eniris portal:
| Setting | Value |
|---|---|
| IP Address | The static IP you assigned in step 3 (e.g., 192.168.1.50) |
| Port | 502 |
| Slave ID | 1 (Default) |